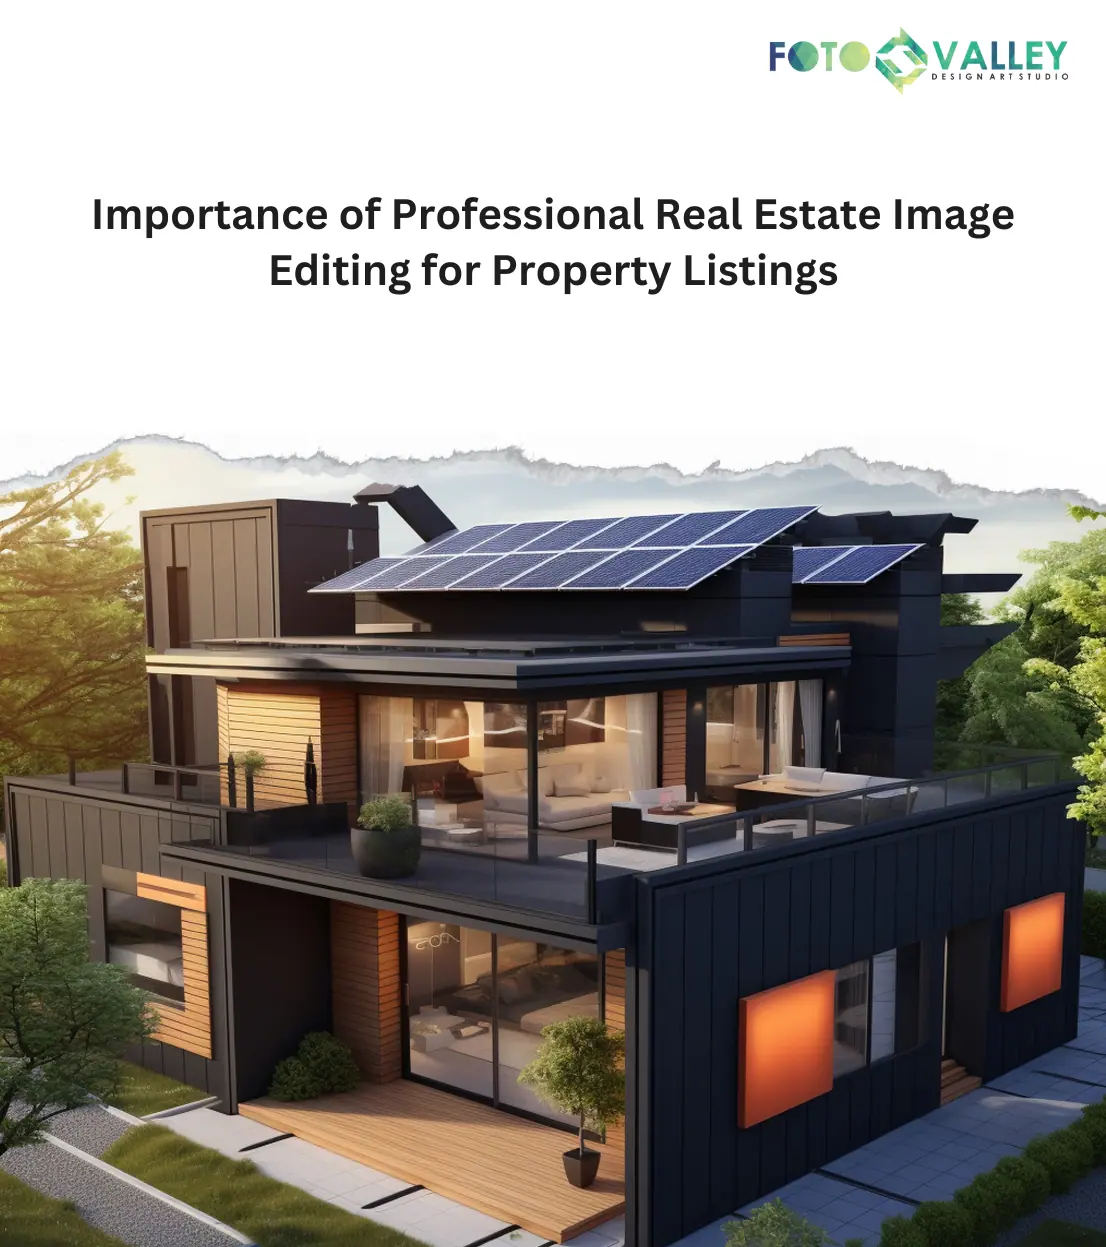
As property sales are in full swing, commercial real estate photography, too, has a great demand. Without the best photos of any property, no agent can be successful with deals, as mediocre images are dead shot turn-offs to homebuyers.
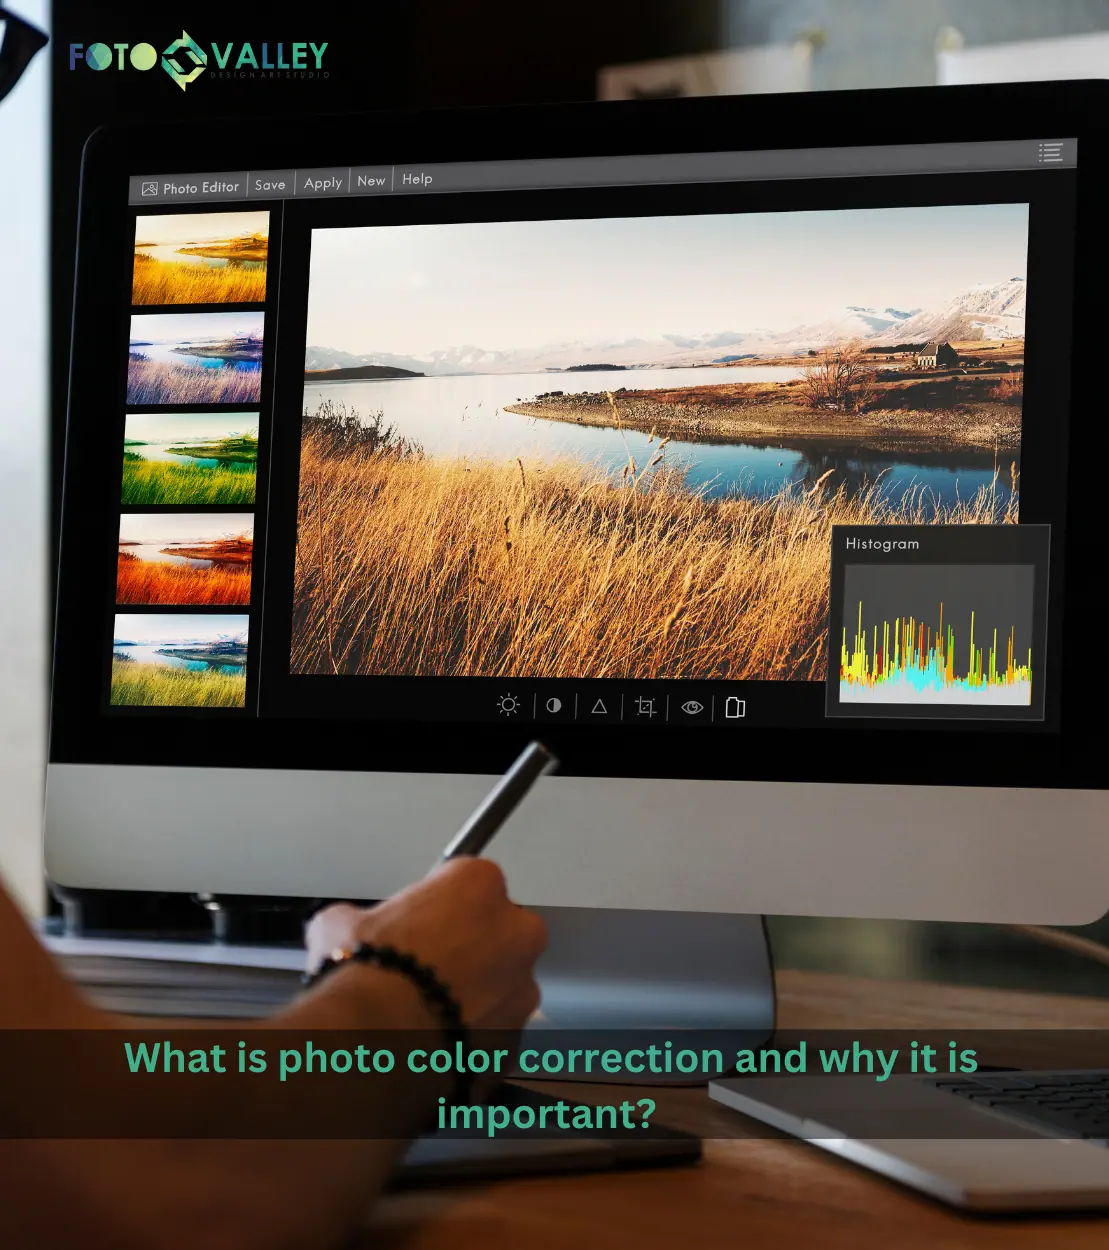
Apart from the tricky shooting part, real estate image editing and photo enhancement or the entire post-production have to be approached professionally as well. So, it has to be that perfect whole package of enticing outputs with beautiful, and consistent photos.
There are a primary inclination and preference towards HDR photo editing techniques as well. It makes property images more vibrant, detailed, and naturally blended to the backdrops. If you’re skilled enough, the local real estate industry agents will always prefer you for property shoots.

But what if you’re just starting in commercial real estate photography? Well, you should check out the below ten tips to get you on the right track.
Your Equipment
- Basic is a camera – DSLRs or mirrorless and combines other essential equipment as well.
- Keep a wide-angle lens handy as it can almost capture the entire property or tight spaces to make it look more spacious.
- A tilt-shift lens can tweak your skillset in this field as it eliminates the distortion caused by a wide-angle lens. When starting out, go for a used one as a new one is expensive.
- Use a tripod for camera stabilization helping you eliminate motion blur, and for retaining shot perspective, and to maintain its consistency.
- Remote triggers can be useful for low shutter speed shots as you don’t want to touch your camera, even in the slightest manner, at all.
- A good flash will help you in low-light situations and choose one by considering the property space. Also, use a flash trigger when you want the flash to concentrate on a particular space and fire off at the same time you press the shutter.
- Light modifiers can give your photos a more appealing effect especially if there’s difficulty in bouncing light off. Shooting umbrellas are prefect light modifiers especially while you’re photographing small spaces.
- Light stands are important if you have more than one flash for more lighting. Generally, one to four of these are always needed.
The basic or standard equipment you always need will be a camera, a lens, and a tripod. The others will help you get much better results and efficiency in your shoot.
HOW TO PREP YOURSELF COMMERCIAL REAL ESTATE PHOTOGRAPHY?
Property Shot List
A standard commercial real estate photography shot list is as follows:
-
2 wide-angle shots of each bedroom, the kitchen, and the living room.
-
Single bathroom shot, only if it’s remarkably fancy or roomy.
-
1-3 backyard photos, if it packs some unique features. 1-2 front shot of the property to glorify the ‘curb appeal.’
-
Single-shot of each property feature (laundry room, garage, and pantry)
These shots will surely highlight all of the property’s essentials.
Hand over your shot list to the real estate agent that hired you. This will give them a better idea on how the shoot will turn out to be.

Your Gear
Never prep your gear in the last-minute rush or on the shoot-day. Always get on it the night before. Things like chargers, batteries, memory cards, etc. are highly crucial to your shoot. So charge them fully, format your cards, and pack other important gear in your bag the night before the shoot – always. Take a secondary camera kit, if you have one, just in case. Plan your drive route right away when you get the property address or location, so that you arrive for the shoot on time, and as a professional. Don’t forget any backup gear as well, provided that you would require it at some point.

At the Property
Declutter
Decluttering is key to achieving perfect compositions as you want to eliminate unwanted elements from the property spaces. So, make sure you inform the agent before the shoot to have the property surfaces neat and tidy without build-up clutter. One or three decorative items are fine to compliment the space being shot.
Familiarise Yourself with the Property
Do this before you start shooting to fix your mind with an overall shoot idea by framing different shot perspectives to each space. The best shot angles, whether props needed or not, spaces that are shot-ready, or spaces that require a little more prep time, etc. are the most common things you have to consider. An ideal thing to do would be to note down what you’re planning on a notepad to make the shoot simpler, more organized, and easy.
Lighting and Consistency
Lighting consistency matters in commercial real estate photography. Turn on the property’s lighting setup if they can produce a consistent and even light tone/temperature that gives a warmer and welcoming feeling. If you don’t turn on the lights it gives an even cold temperature tone. Whatever you decide, make sure it suits the composition you have in your mind.
Choose natural lighting if the property has large or many windows. If it’s the other way around, then you can go for the property lighting setup.
You should use flash when the property lighting setup has different color temperatures or else it will affect your real estate image editing, photo enhancement, or HDR photo editing post-production.
Prop lightings such as a desk lamp can be used for aesthetic appeal as long as it doesn’t affect the overall composition lighting.
The lighting part should always have consistency, no matter what you decide upon.

IMPORTANT THINGS TO KEEP IN MIND
Using the Flash
The flash attached to your camera is a life-saver and will help you work faster when compared to other lighting equipment. Shoots having limited time schedules are best done with this technique. When doing so, bounce the flash lighting off of ceilings or walls to get a softer tone and never directly with it. This will help diffuse the intense flash lighting to that space and renders even lighting.
Also, use the flash in manual mode to get full control over its light intensity. Start shooting and you’ll know how to adapt the flash strength gradually. When shooting towards bright windows, the maximum flash potential is recommended.
If the space you’re shooting for is big, you would need bigger flash units kept on your light stands for good height. Position them well out of the frame and bounce off the light by keeping them aimed at the ceiling.
As said before lighting has to be consistent with an even illumination highly depends on how you position your lighting equipment according to room size and shape. Also, try other positions in the property to get the best if the generally favourable corners or behind-you positions don’t work.
Shooting Straight Causes Minimal Distortion
Commercial real estate photography requires straight-shooting especially when you’re starting. Your cam should always be kept straight when you’re shooting from different angles since it highly eliminates any distortion especially in your post-production workflows of real estate image editing, photo enhancement, or HDR photo editing.
The reason is that if your camera is held either slightly down up or down, the vertical lines will begin to slant and causes distortion in one direction or the other.
In this type of photography, the ideal shoot height for a home to look more natural feel balanced feel is around 5 feet (152.5 cm). Anything high or low, then it will give your compositions either more of the ceiling with the less liveable area, or too much furniture and less of the actual room, respectively.
")
POST-PRODUCTION
Correcting Image Distortions and Warping
In Lightroom, apply the lens correction option to correct the image distortion or warping caused by wide-angle lens optics. This real estate image editing or photo enhancement post-production technique when applied will help you adjust and gain the proper verticals. By doing so your image will look more refined.
After this, go to the Transform Module, check ‘Constrain Crop’, and click on ‘Auto’. Everything will be applied, although you should make certain of the same. If all the lines are not corrected, use the sliders in the same module to make manual adjustments.
Basic Adjustments
It’ best to stick to basic adjustments in commercial real estate photography. For this, reduce the highlights, increase shadow brightness, deepen the blacks, and also increase the image clarity. You can try some HDR photo editing technique as well.
Over time, when you experiment extensively you will develop your own Lightroom presets for using it on individual shots and to establish your signature.
Maintain Consistent Light Temperatures
Color accuracy cannot be left out in commercial real estate photography. Indoor property lights normally have a warm or yellow tone which is quite different from the bluish natural light. Although you can balance these temperatures to a neutral tone with the Adjustment Brush tool in Lightroom or Photoshop. It will refine your image with consistency and make it look more professional.
Use the Brush to get the warm tone and direct it towards the blue region until you get a balanced or neutral tone that blends to the rest of the image. Choose an optimal brush size, feathering, and brush strength for a soft and consistent blending process.
It’s also important to maintain a consistent white balance and color correction process to each of your shoot schedule. This will impress and assure clients that you are a professional who can deliver undeniable consistency.
So, follow the above tips to keep your commercial real estate photography portfolio impressive and most importantly consistent. Doing so will earn you a steady revenue and good reputation as a professional in this field. Always start with small investment for your gear and work your way gradually. Never rush and always trust the process.


")