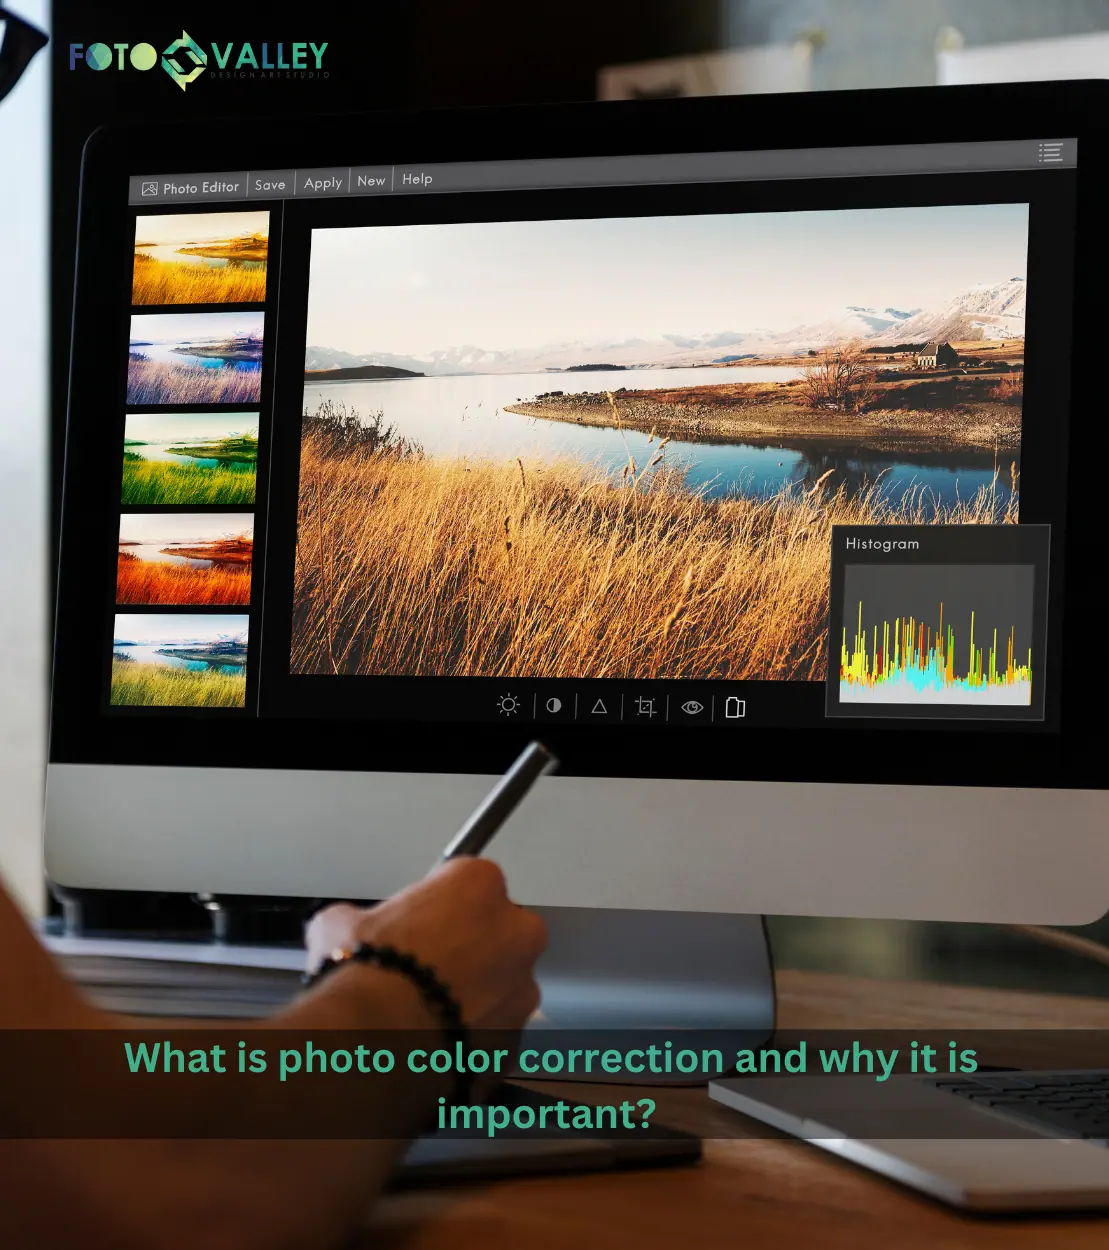
Portrait Retouching is the act of improving the appearance of a portrait by removing unwanted elements from the portrait. Today many built in-features are available in our smartphones that can do portrait retouching, but these are definitely not equivalent to professional retouching that is done using robust software and tools by professionals that provide photo colour correction services.
So, this blog is written to serve as a tutorial for beginners!
Now let’s learn about Portrait Retouching in five simple steps!
Step 1: RAW File Conversion
Yes! The first and foremost step you must take when you began with portrait retouching is Raw file conversion. Raw file is the image that we get from the camera directly. So before you start with your editing you can change the raw file to the format that you require. Now you can learn how you can perform this task.
Firstly, click Edit, then select Script and click Image Processor. Suddenly a panel will appear and from the panel click “Select Folder” to choose the folder that contains RAW images. Now another panel will appear and click “Select Folder” to decide where you want to save your converted image.
Step 2: Resize the portrait
Cropping is the best method to start with when you are going to retouch a portrait. As crop images have many usages, there are many methods through which we can crop an image. But as you are a beginner we will introduce you to the simplest method to crop a portrait.
Start by opening the portrait that you want to crop. And then click C to make the crop tool function. After this action, a Crop Frame will appear suddenly. Then you can either drag the markers in Crop Frame as per your requirements or you can give the dimensions that you want in the Aspect Ratio menu. Finally, press Enter to get your cropped portrait.
Step 3: Eliminate Wrinkles and Blemishes
The success of Editing depends on how able you are to mask that edit and create a look that is real!
So, firstly click Ctrl+J to hide your edited layer below the unedited layer.
Secondly, use the Patch Tool to deal with blemishes. Click and drag the tool around the blemish that you want to remove. Then click inside anywhere that you selected and drag it to another part of the portrait to replace it. Yeah, now you have dealt with the blemishes efficiently.
Now use Clone Stamp Tool to eliminate heavy bags that appear under the eyes. Select the Clone Stamp Tool and click the Alt key. Then adjust the opacity of the brush as per your requirements and run the brush over the wrinkles until it becomes neat and clear.
Step 4: Dodge and Burn
The Dodge and Burn are tools that can be used to lighten or darken the areas that you need in a portrait. These tools function basically on the way how lights are used by photographers to capture a photo. That means, if the photographer wants to increase the brightness in a photo they may adjust the light in such a way. And if the photographer wants a dim shade in photo, he will keep the light stand at some distance away from the object.
Now let’s see how you can make use of these tools!
Firstly, select the Dodge Tool or the Burn Tool. Then, select a brush tip from the options bar. Finally, Drag over the area of the portrait that you want to darken or lighten.
Step 5: Get the right colours on the Portrait
It is fact that you can’t figure out the colour imperfections in a portrait unless and until you spread the right colours on your portrait. Colour grading is an option that you can adopt to make your portrait more attractive. You can perform colour grading in Photoshop by making use of Hue and Saturation sliders. Before you will learn how to use them, let us see in detail what are they used for. Saturation is a slider that adds a brighter colour scheme to your portrait and whereas Hue gives a light colour scheme to your image. Here is how you can make use of these tools.
Firstly open the portrait that you want to edit. Then, click the Adjustment tab to generate a new Hue/Saturation adjustment layer. Now, a menu will pop up where you can choose between Hue and Saturation. Use them as per your requirements.
Wrapping Up
Hope you have learned about Portrait Retouching. Now take a portrait and start to unleash your talents in photo editing. With a wide range of photo editing services, Fotovalley has been serving many clients across the globe. So, if you want to get affordable colour correction services please drop a mail to [email protected]