fbpx

Step-By-Step Guide to Remove Background in Photoshop

Posted by Zara Jones | August 30, 2018 | Image Editing

Photoshop offers many useful tools to edit images. Editing the background image or removing it is one of the common requirements. Background removal is required for many ecommerce businesses, wedding photographers and for creative agencies to highlight some images. Even for those who are not familiar with Photoshop, they can easily remove the background image by following the right techniques.

Here’s a step by step guide to remove background color and/or image from your main image:
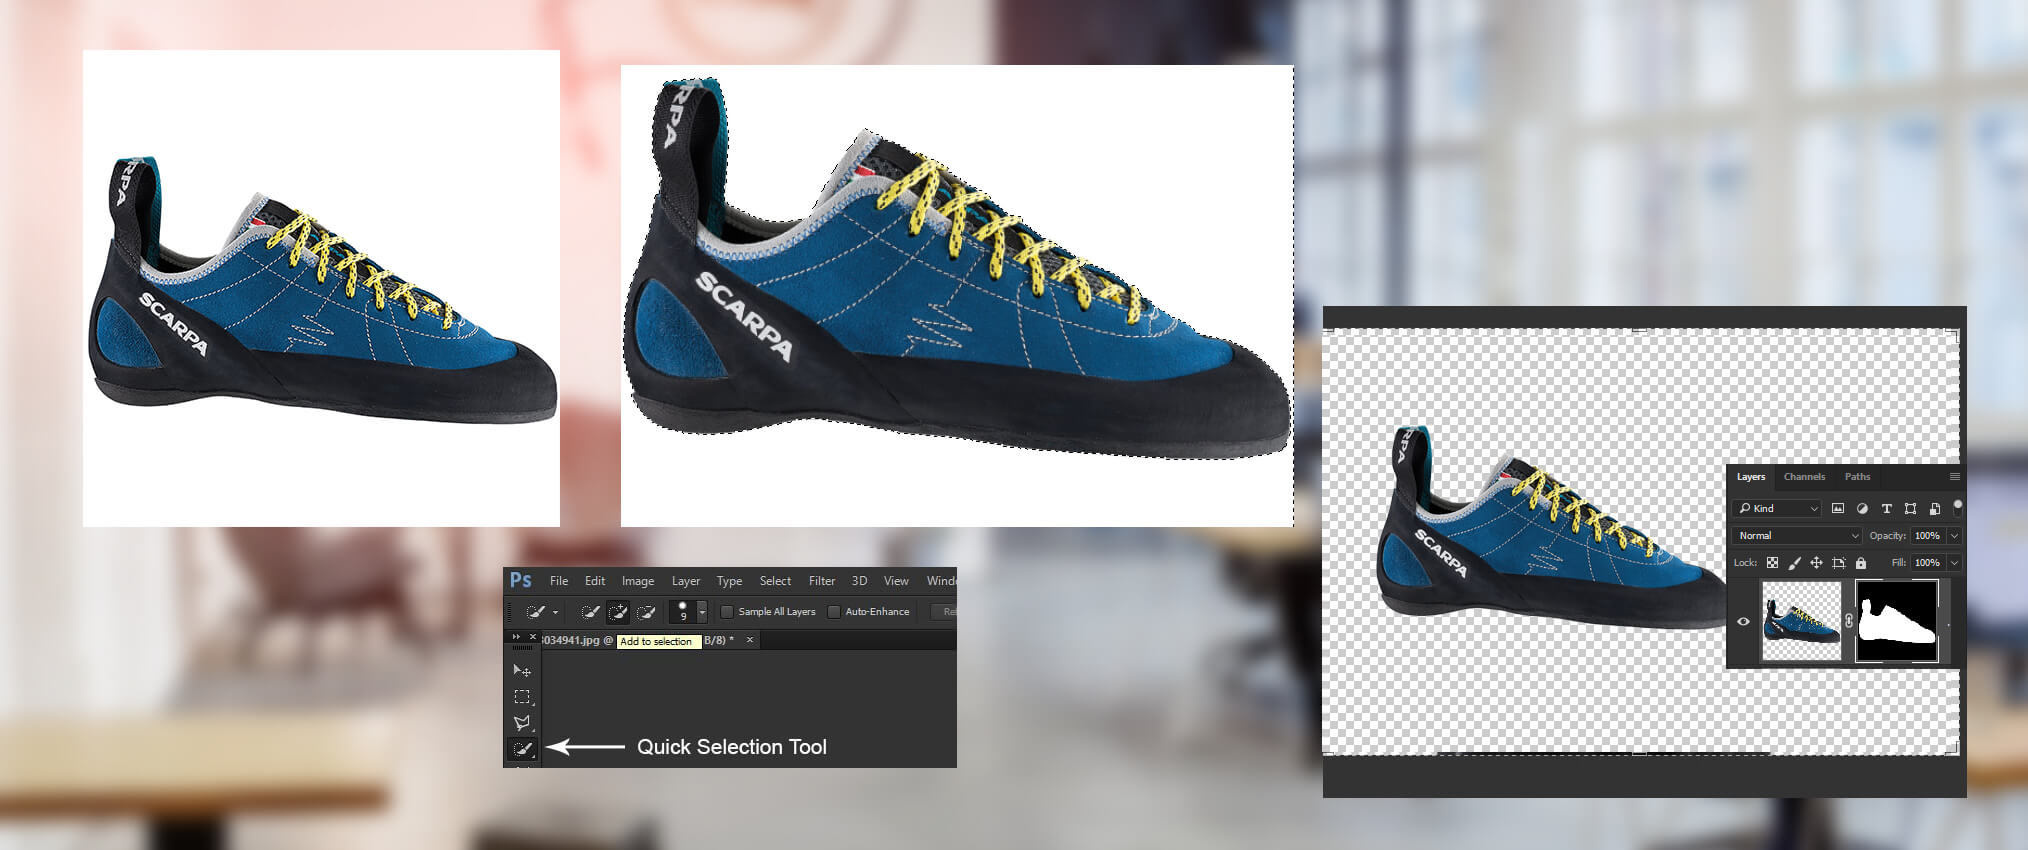
step by step guide to remove background in photoshop

Step 1 – Open the image to edit in Photoshop Elements.

Step 2 – Using the layers tool, select and rename your background layer. This is a must if you want to remove the background.

Step 3 – Select the subject you want to retain in the main image. Say for example, a face or person’s outline which you want to retain in the image. You can use the lasso tool to select the main image outline. If you are doing real estate photography editing, you can choose the building outline to retain it, the background of which has to be removed.

Step 4 – Once the selection is made, use the refine edge tool to refine the selection further. You can zoom in to refine the edge. Again, zoom in to get a better view and get a cleaner image.

Step 5 – Once you have refined the selection, use the white and black view modes in refine edge option. Increasing the contrast clears off most of the fine background elements remaining in the image selection. Check alternatively with black and white view modes to check and clean the selection further. When you are performing ghost mannequin editing, the contrast option comes handy in cleaning up the selected image.

Step 6 – Once you have completely cleaned the edges, select the output option to decontaminate colors. Mark the output to new layer with layer mask and choose ok. This creates a new layer with the clean image with the background image removed.

Following these steps, you can remove the background of an image. Many businesses also need to add or change the background image.

To add or change the background image, you can first remove the existing background using the above-mentioned steps and then use the following steps:

Step 1 – Choose the new background image and add it as a new layer to the existing image. This will be the top most layer of the image right now.

Step 2 – Pull the background image layer and bring it below the main image. Now, you will have the image with the new background as a different layer.

For images that have a definite edge such as buildings, people, mannequins and other objects that occupy a major portion of the image this technique will work fine. More complicated images with the background coming within the image may be more challenging to edit.

For the basic requirements such as jewelry retouching for catalogue and brochures, the above-mentioned step by step guide to remove background using photoshop elements will prove to be useful. The best way to tackle such challenging image editing requirements is to outsource the same to competent and experience outsourcing partners who specialize in image editing services.

Add a comment

*Please complete all fields correctly

Related Blogs

Dynamic sports photographer capturing the essence of athleticism in a thrilling image.
Posted by nikki-perez | 30 November 2023
Sports photography is a thrilling genre where you…
What does AI image editing entail for post-production
Posted by nikki-perez | 30 March 2023
We are living in a busy world. That means, no one is ready to spend their time on something unless they feel it is worthy. It is at this stage,…
Discover Benefits of Professional Image Editing and Retouching Services
Posted by nikki-perez | 21 February 2023
No matter what type of profession you are in—real estate, eCommerce, photography, or any other line of work—high-quality images are essential to the success of your business. A lot may…