The prime reason for selling homes faster is through a high-quality property photography portfolio. While other factors contribute to it, this is one of the fundamental aspects that hits the sweet spot. The reason to choose professional photo editing services is that they can capably exhibit your property in the best fashion that appeals to potential buyers.
And portfolio when incorporated with real estate photography editing techniques attain a boosted feel that skyrockets lead generation. And trust is this is no joke as it is one of the most persuading, and necessary tactics used in the real estate scenario. The introduction of a new trend – real estate HDR photo editing enhances property detail, clarity, and originality as well.

Yes, hiring a professional is expensive, but you can make it happen within your budget by following some of the strategies we have compiled. This will attract potential buyers or generate interest for your property without much hassle. And the idea is to always maintain a consistent standard in your property portfolio within high quality.
So, shall we explore the featured property photography strategies to keep it on the good side?
Equipment
A reasonably priced DSLR especially suited to property photography can render high quality and professional photos. Equip it with a wide-angle lens of 10-24 mm, f 3.5-6.3 or, 10-18 mm, f 4.5-5.6, or 16-35 mm, f 4 to enable a wider perspective ideal for property photographs. Both a tripod and monopod will be beneficial in eliminating camera shakes and thereby image blurs. A memory card with fast read and write speeds with a good storage capacity is always the best, and make sure it’s compatible with your camera. Spare batteries are always a must, so keep that handy too. If you know how to use a flash, well and good as it helps avoid over light exposure. Although we wouldn’t advise this as it is not always recommended. All this equipment makes your property portfolio stand out from the competition.
Planning
Always have a clear plan for your shoot, or else you will lack the chances for the right traction among potential buyers, or in getting referrals. The major things you should have in your plan are:
The Right Property Shot List
It covers all of the property’s essentials such as clear shots of each room which shouldn’t be no more than 3, or potentially attracting elements or amenities that will increase your sales chances more. The ideal number of shots is 5-9, but you shouldn’t end up with more than 15 or 20 photos when the shoot finishes.

The Ideal Time to Shoot
What was once dependent on the weather is now a breeze since the post-production game of real estate photography and HDR photo editing is so strong these days. The availability of professional photo editing services gives more flexibility in making property photos look the best at any time of the day. Although as a practiced norm it’s always better to take interior shots when there is not too much natural light, or else every image will get overexposed, too bright, or light burned.
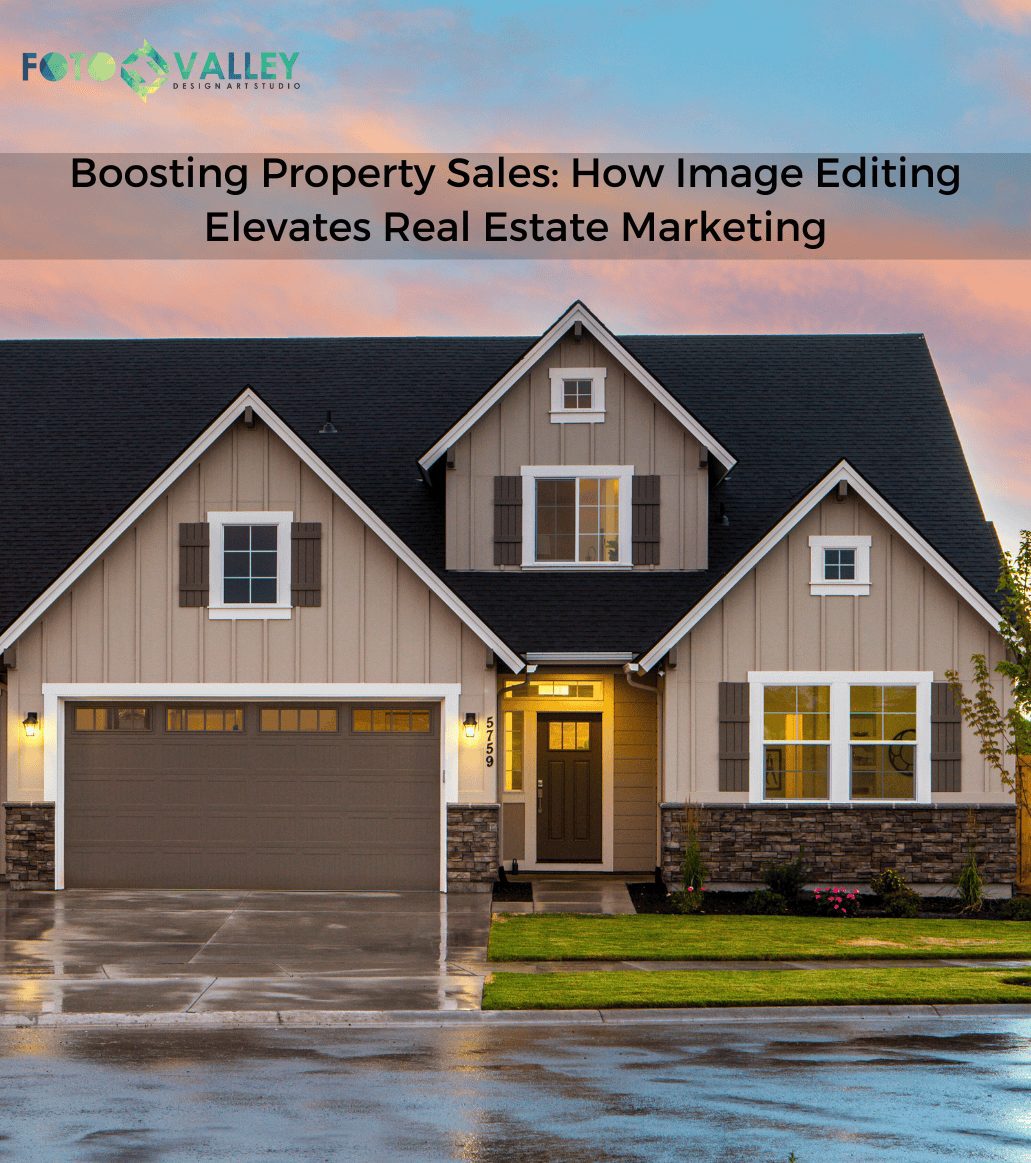
As a contrast to interiors, shoot exterior property images when the sky is bright and blue, but not extremely sunny as too much light can also bring a lot of shadow elements. So, find a balanced form of natural daylight for both interiors and exteriors. And if you’re up for a pro challenge try shooting properties at dusk time for a sunset splash with insane sky appeal.
Equipment and Gear
Never forget these essentials or else you’re not taking this seriously. The only thing to do to make sure you have all the right stuff with you during the shoot is to pack everything the night before with a checklist of everything, so you don’t leave anything out. Also, free up your memory card, and fully charge your batteries – always!
Property Prep
Messy property? A big thumbs down! That’s never going to work even if you push hard. So never skip this crucial step! Talk with the vendor well in advance and state your requirements – a heads up always good. So, let’s get to the prep part.
- Always do a property walk-through to have a clear idea about the property, and this walkthrough will help you prepare the shot list. And write everything down, don’t memorize.
- Make sure the property front and driveways are clear of vehicles, trash cans, and any kind of rubbish. Declutter and clear the mess off the property.
- Make sure to fill up the property with lighting by switching on all lights, opening all doors, curtains, and blinds.
- Bathrooms should be well maintained
- Include décor props to spice up the bathroom, kitchen, and dining area interiors in the images.

Property Photography Shoot
This is the hardest part, but let’s begin with the camera settings where you want the images to be saved in JPEG format with file sizes ranging from 3-10 MB. This format and size ensure high quality and is easy to upload on potential real estate sale platforms. Stick to 12-megapixel or above in the resolution department so that your images have better detailing.
On the technical side, go for manual mode shooting which will give you more freedom to experiment and capture the image that you want as the auto settings won’t favor you much. When you get the hang of it, the manual mode will allow you to take exceptional photos of your property to attract buyers.
Make sure what you shoot can guide the buyer with a vision of the whole property through your photos. So, use a tripod with a height set between your waist and chest (4 ft or 1.2m) off the ground and kitchen shoots will require more tripod height (5.5ft 1.5m). Always shoot in landscape mode for a wider property perspective, and shoot from the corner, from the door, or for smaller rooms – the doorway. This will help you get that triangle effect where you include three walls in the frame. A timer or remote can let you know if there are reflection issues, especially in the bathrooms. And never include too much ceiling or too much floor in your frames as they aren’t that important.
For the exteriors, keep your camera on the tripod, 6 feet off the ground or even higher depending on how you want it. Absolutely no distractions in the frame, and try out different angles to add depth to your photos. Appealing trees/garden features are ideal to include in your shot. And always shoot away from the sun and not directly as it will cause too much light but in your photos.

Post Production
This is the finishing touch where everything comes down to. And trust us, this is not a process that is to be taken lightly. The role of professional photo editing services in the field of property photography makes everything come to life. Weather adjustment, decluttering, or anything – it got you covered in every way. The basic software of Adobe Photoshop or Lightroom is the one needed for real estate photography and HDR photo editing. And the post-production process for property photography is always on the basic edit side. So, you can chill!
All you need to do is:
Reproduce the ideal colors by adjusting the brightness and contrast levels. The blue-sky replacement technique can make the sky blue and aptly married to your property for an enhanced appeal. Correct the perspective of the photo by perfectly aligning the horizontal and vertical levels. Get rid of the shadows, lens distortions, ad add the necessary white balancing for that originality, with ample detailing to all important elements. You can remove unwanted things or add stuff to make your photos more appealing with real estate photography editing. You can also go for virtual staging ideas that will give your prospects a much more immersive feel of the property with the help of professional photo editing services. When carrying out the time-intensive process of post-production, make sure all your photos have a uniform and consistent look throughout, or else it might feel unprofessional, not eye-catching, and won’t bring you any leads.
So, these are the most winning tips of property photography that is sure to boost your potential leads and thereby bring an ultimate sale. So, make sure you follow them.


")